 First things first, get your materials. You can choose a contrasting fabric for the lining of the shoe if you'd like.
 The interfacing that I chose to use wasn't very stiff but it is water resistant.
 The sole of the shoe is made from a very thick vinyl. You could also use a heavy leather if you'd like. It should be about the same size and shape of your foot.
 Cut your three fabrics into a horseshoe shape about a 3/4" longer than the length of your foot. Layer them interfacing first, then the lining, then place the fabric that will go on the outside of the shoe upside down so the right sides are together. Sew them all together with a 1/4" seam allowance along the inside of the horseshoe.
 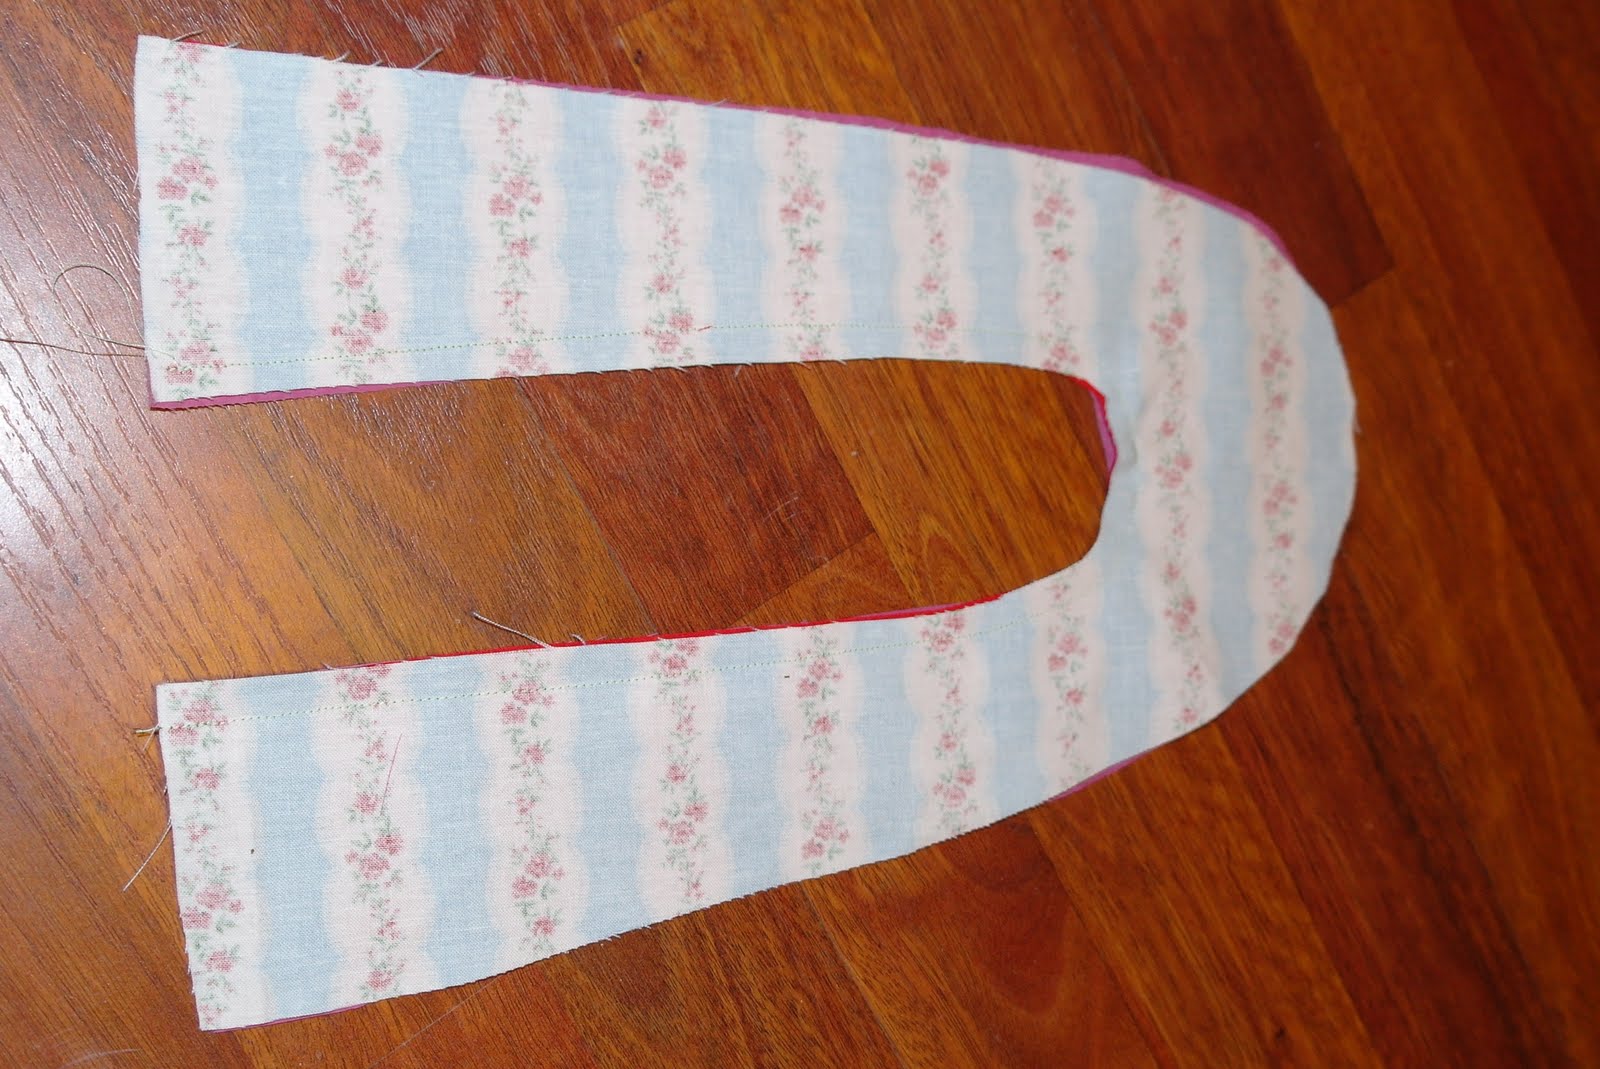 Clip the curved part of the seam allowance.
 Turn the shoe so the right sides are facing out.
 Press.
Sew a 1/4" seam along the back side of the heel.
 Cut a 3" strip of elastic and pin it along the top of the heel.
 Sew the elastic on while stretching it.
 Turn the shoe right sides out again.
 Sew a basting stitch along the top curve of the shoe.
 Gather your basting stitch.
 Pin the top of the shoe to the soul right sides together.
 Sew them together with a 1/4" seam allowance.
 Trim the seam to 1/8".
 Zigzag or serge together.
 Turn right sides out.
 Hooray! You have shoes!
oh THANK YOU for this tutorial! i am sooooooo excited to make some shoesies!
ReplyDeleteI hope you've got your happy feet on!
ReplyDelete